Part 3 - Equipment types
In this third part of the tutorial, we will create a calculation that executes on all instances of an equipment type. In Part 2, we created a calculation that operates on specific properties of a single equipment instance. Now, we'll map the equipment instance itself to the calculation. This gives us a few additional benefits:
- We can handle the instance as a C# object.
- We can execute the calculation for all instances of that particular equipment type.
The problem
The logic for our calculation is the same as in Part 2. If you need a refreshment, take a look at the exercise introduction in Part 2.
The equipment instances
- On the left side navigation, under Information Model, select the Equipment Instances view.
- From the Equipment Class list that opens on the left side, select
Tank. - Drag the "Name" column to the left side of the "Level" column. You can do this by dragging from the column label. This makes it easier to see all the properties relevant to this tutorial.
Your view should now look like this:

You should notice that ContentsVolume is 0 l for Target tank and 400 ml for Source tank. Currently, we have the calculation from Part 2 running for Source tank. We're going to disable this calculation next.
Disabling the previous calculation
Open up the Calculation Tool view from the left side navigation under Calculations > Catalog:

Click Edit on ExampleVolume. This opens up the calculation editing dialog:

On the bottom left, click Remove on the Periodical Scheduler.
- Click Ok on the confirmation dialog.
This removes the trigger from the calculation, effectively stopping the calculation without deleting it.
- Switch back to the Equipment instances view.
- Double click the ContentsVolume cell of the
Source tankrow (with the text 400 l).
This opens up the current value editing dialog:

- Type "0" on the Manual set field.
- Click Set.
- Close the dialog by pressing X on the top right.
The value for ContentsVolume stays 0 which means that the calculation is not running.
Creating the calculation
- Go back to the Calculation Tool view.
- Click Add Calculation.
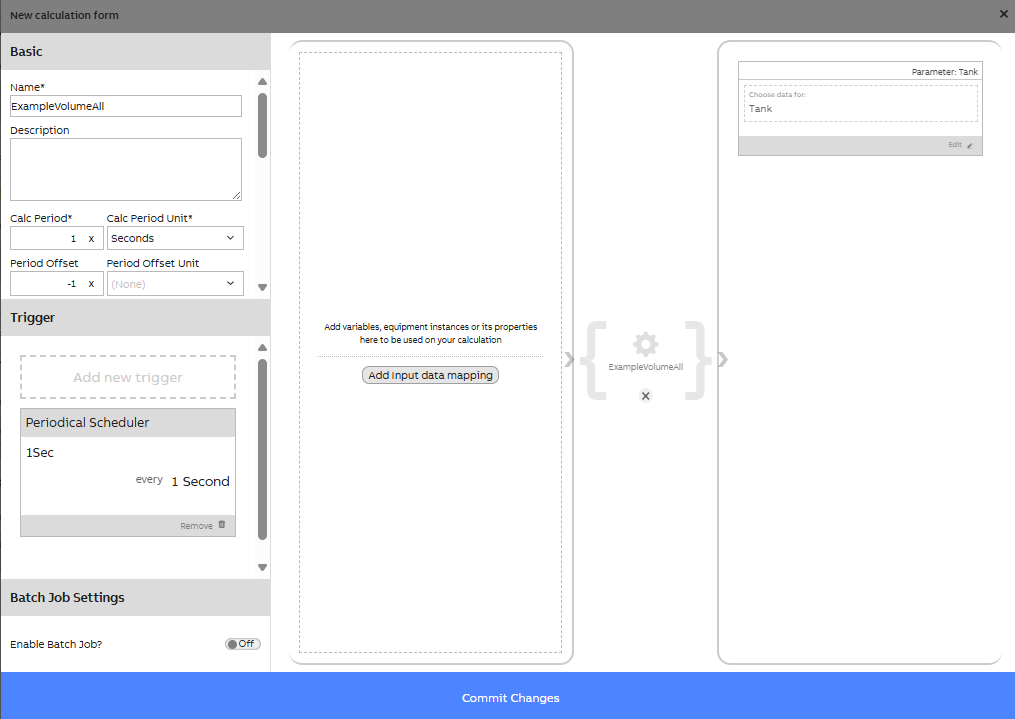
This opens up the calculation creation dialog:
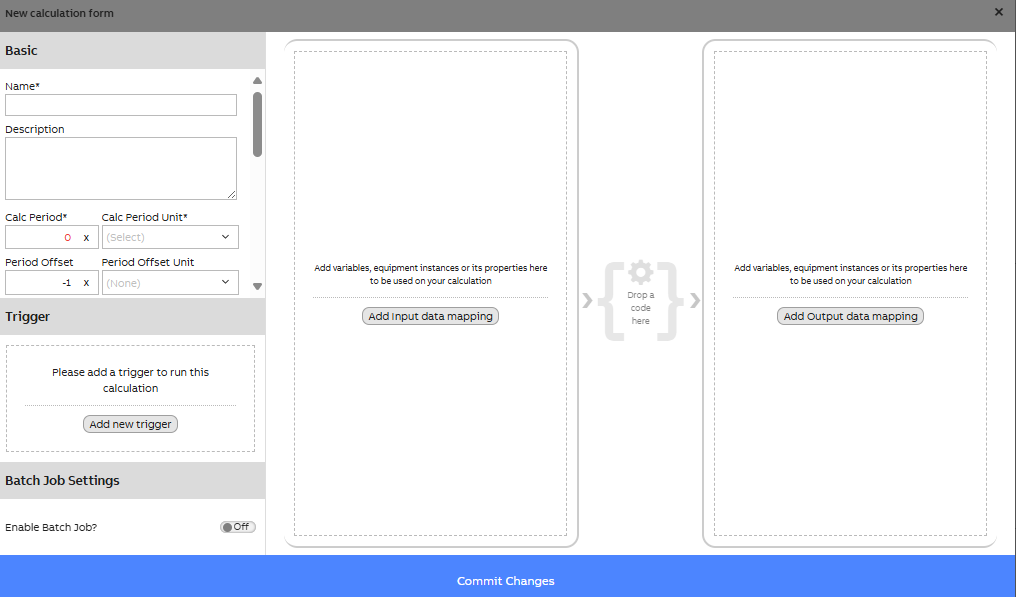
On the top left, fill in the following information:
- Name: "ExampleVolumeAll"
- Group:
\RTDB-CalcUser - Calc Period:
1 Second
Defining data mappings
Next, we're going to map equipment type Tank as a parameter to the calculation.
Click either one of the Select data for mapping rectangles. This will open up the data selection dialog:
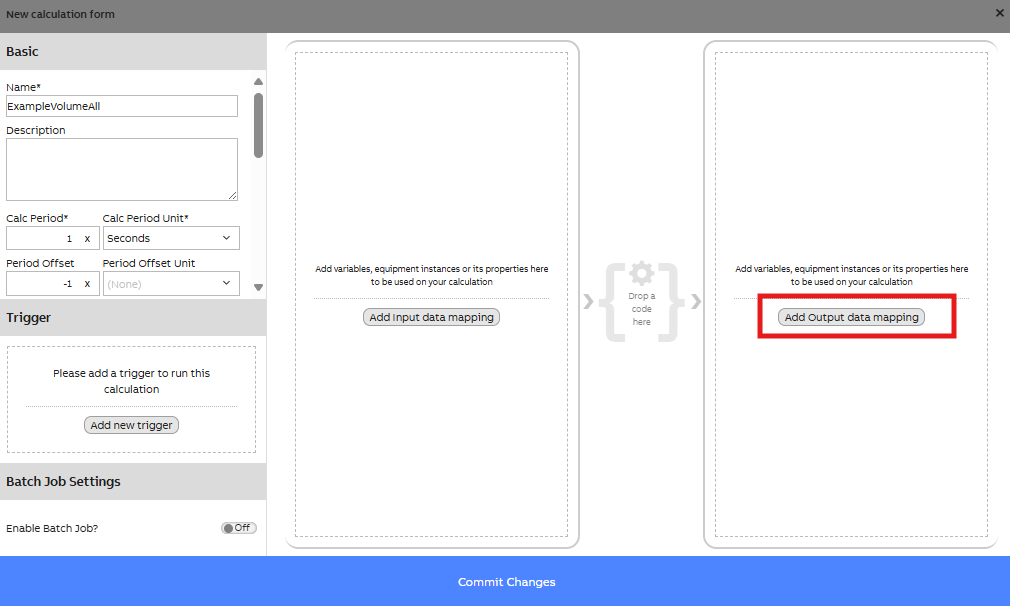
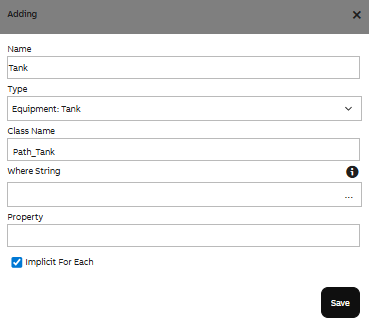
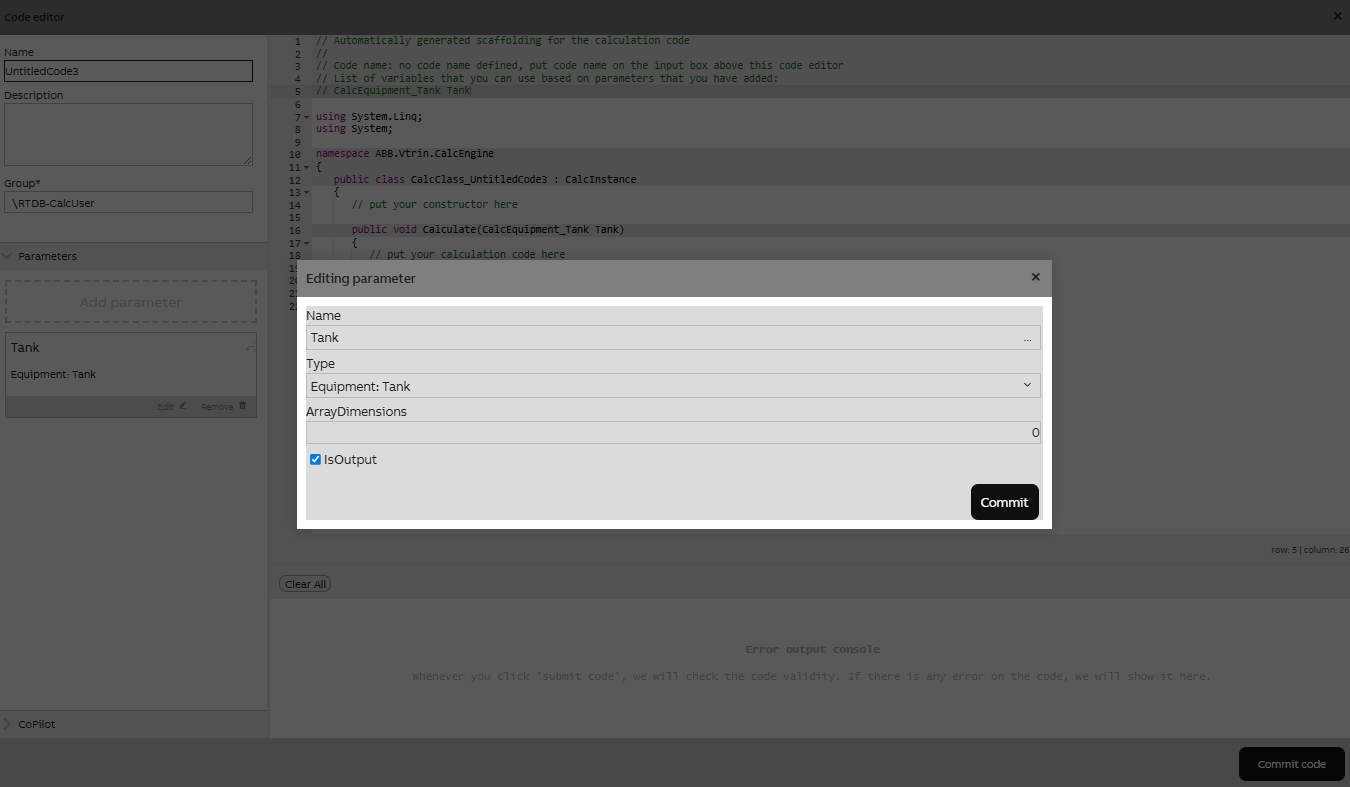
Click Add Output data mapping on the right section. This opens up the following dialog:
- Name input "Tank".
- For Type select 'Equipment: Tank'
- In Class Name, type "Path_Tank".
- Check Implicit For Each. This sets the calculation to run for every instance of equipment type
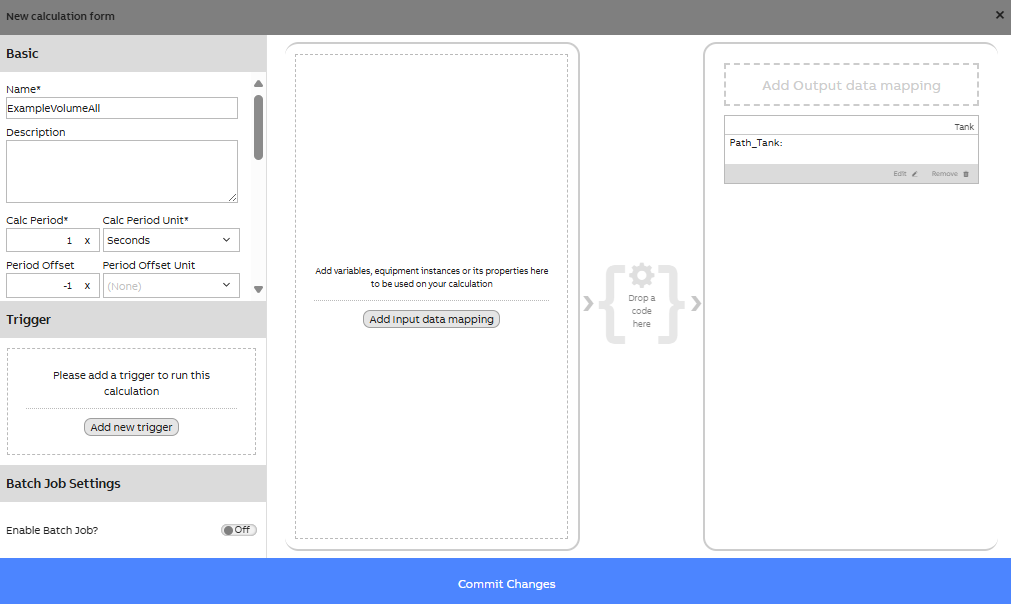
Tank. - Click Save to close the dialog.
Now you should see a visual representation of the data mappings for your calculation:
Create the calculation code
Next, we're going to add the code to the calculation. Click Drop a code here, this will open Select code form from which we can create a new code with preset parameter:
Rename the calculation from default name to ExampleVolumeAll and change group to \Everyone.
Add the code
Replace the line
// put your calculation code herewith
Tank.ContentsVolume.Last = Math.PI * Math.Pow(Tank.Diameter / 2, 2) * Tank.Level.Last / 1000000;Your code editor should now look like this:

Click Commit code to save your code. Finally, close the code editor by clicking the X on the top right.
Adding a scheduler
We have now created the code for your calculation and mapped data to it. The final thing left to do is to tell the calculation when it should run. We'll configure your calculation to run every second.
Click Add new trigger on the left. This opens up the trigger selection dialog. Click Scheduler. This opens up new options for selecting the scheduler.

Click the box that says every 1 Second. Finally, click Commit Changes to close the dialog.
Saving the calculation
We're almost finished. Click Commit Changes to save the calculation. After this, it will start running every second.
Seeing the effects
Make sure that the calculation process is running. Next to each calculation name in Calc Catalog, there is an indicator. Below is an example of the running process:

Switch back to the Equipment instance view. You can now notice how the value of ContentsVolume has changed from 0 to 400 for Source tank and from 0 to 500 for Target tank.

Double click the Level cell for Source tank and use the current value editing dialog to change the value to 700. Notice how the value for ContentsVolume updates quickly after this. Repeat this also for Target tank to see that the calculation is done for every instance.
Updated 6 months ago