NetSync - Getting started
This tutorial shows the simplest way to get started with NetSync.
NetSync is an RTDB service that syncs equipment model instances and their data between ABB Ability™ History nodes. It is used to build networked systems from multiple History nodes. NetSync provides high-performance capabilities for syncing large amounts of time-series data between History nodes, and also from History to 3rd party systems.
To complete this tutorial, it is assumed that you have installed ABB Ability™ History with Windows installer or as a Linux package "cpmPlusVtrinNetSync" for two systems.
In this tutorial we are publishing the example equipment model from the equipment model tutorial from source server to target server. These are called MySource and MyTarget. They have addresses sourceserverexample.com and targetserverexample.com. All user names are myusername and passwords are mypassword.
Create Credentials
Vtrin-NetSync -service needs credentials to access the target system. Configuring user permissions is described in another article <where>. The user must have the "Special" permission to EquipmentPropertyInfo, Equipment, Path and Variable classes so that NetSync can create new equipment definitions, equipment (path) and variable instances to the target system.
After having a user in target system that can access the database you can add those credentials to the source system. Easiest way is to use Vtrin-NetServer.exe to store the credentials. Run these two commands from admin command prompt to add credentials to system user.
This command executes Vtrin-Netserver, which when executed creates the listed credential in Windows credential store for the current user. In Linux, the command is similar, but you need to prefix it with runcpm.
Vtrin-NetServer --username myusername --password mypassword --addcredentials MyTargetBelow command must be executed from the path "%app_root%\Config\FeatureInstall"
(cd /d %app_root%\Config\FeatureInstall)
This command transfers the credentials to system user. This command is not needed in Linux.
APP_TransferVaultEntries.bat /name "VTRIN/MyTarget"Set up certificates
NetSync connects to Vtrin-NetServer through secure connection and it needs to trust the certificate used by Vtrin-NetServer. So the Target node's certificate must be trusted to the Source node.
If you are using Windows, certificates can be installed to Trusted root certificates -store.
In Linux it varies by distribution and you can look up instructions for your distribution.
You can read about certificates in: link
Export and Import Certificates in Windows Environment
In this section we will go through the steps to export the self signed vtrin certificate from Target system and import the certificate to the source system's Trusted Root Certification Authority where both the systems are running with windows OS
Exporting Vtrin Self Signed Certificate
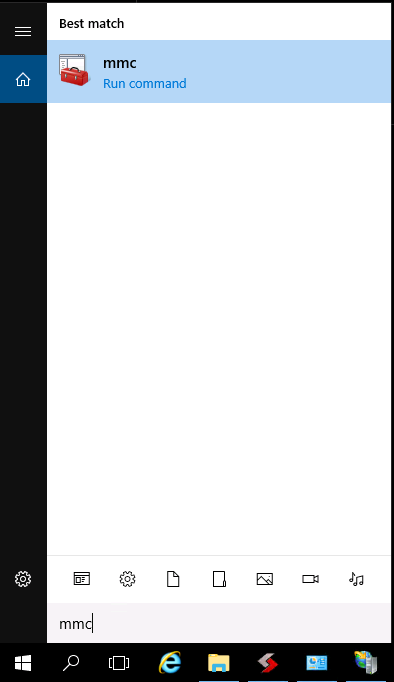
The certificates of the computer can be viewed by launching Manage Computer Certificates in latest versions of windows or by following these steps:
- Type mmc to the Search function of Windows, and press Enter.
- Next, select File → Add/Remove Snap-in... from the console.

- In the following list, click Certificates and Add then select Computer account → Next → Local computer → Finish → OK.

- The Vtrin Certificates can be found in the Personal → Certificates folder, and their period of validity is shown in the Expiration Date column of the console.
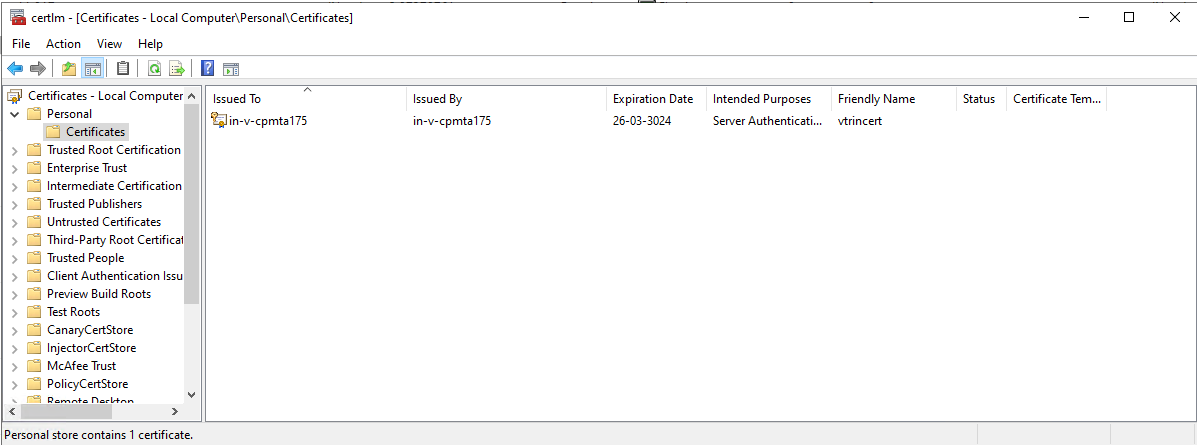
Vtrincert Certificate
- Export the vtrin certificate by Right-click → All Tasks → Export
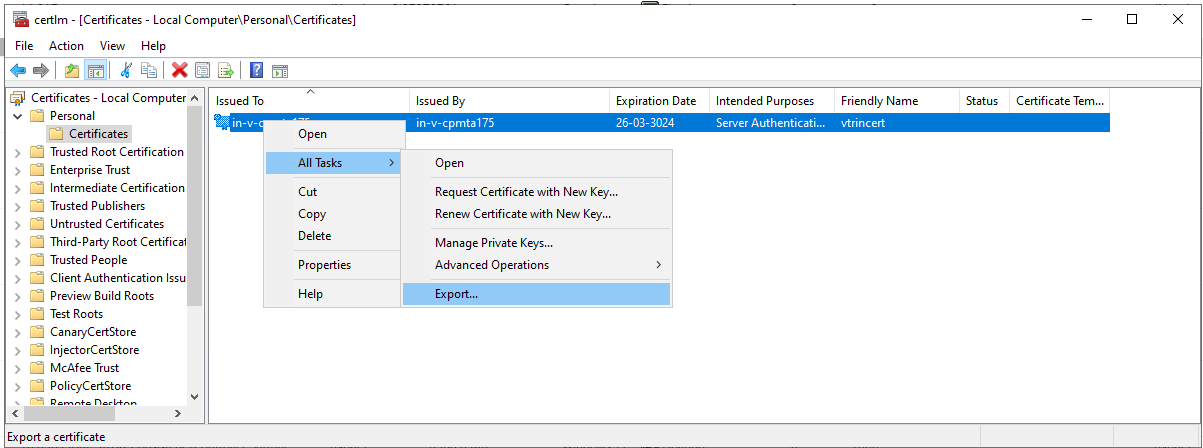
Export Certificate
-
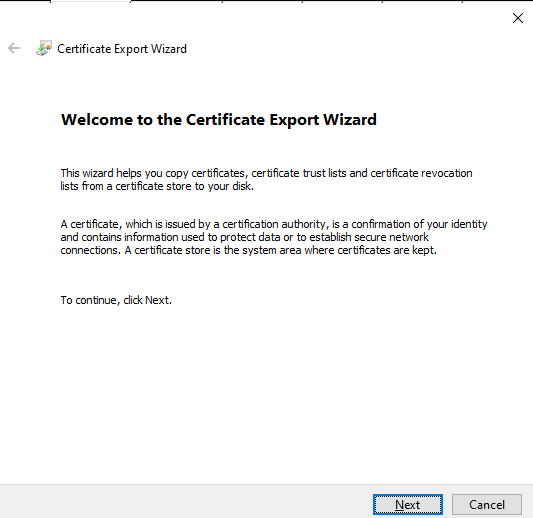
This will launch a new Window Click Next
-
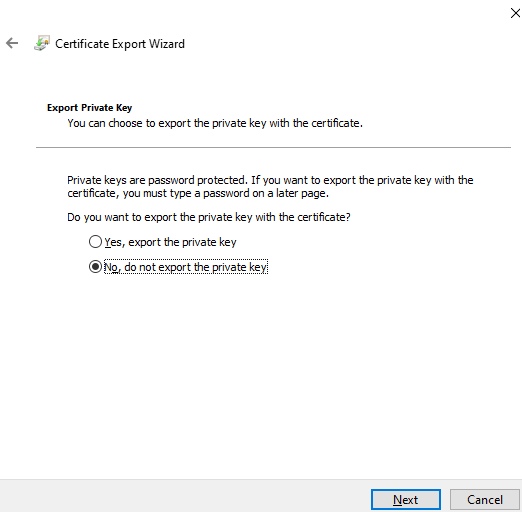
Select No, do not export the private key and click on Next
-
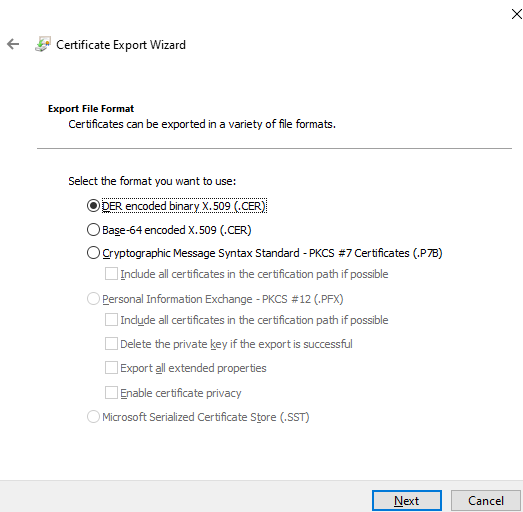
Keep the default selection (DER encoded binary X.509 (.CER) in the next screen and click on Next
-
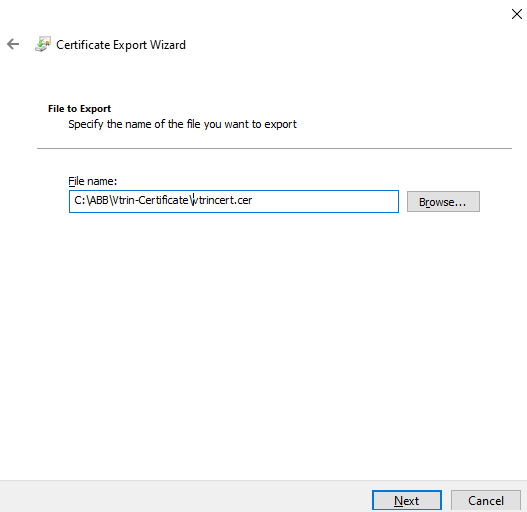
Provide a Path and filename so that the *.cer file is generated in the given path with the given name and click on Next
-
Click on Finish and verify that the certificate is exported to the path given in previous step
Installing certificates
The exported self signed certificate is installed to the server as follows:
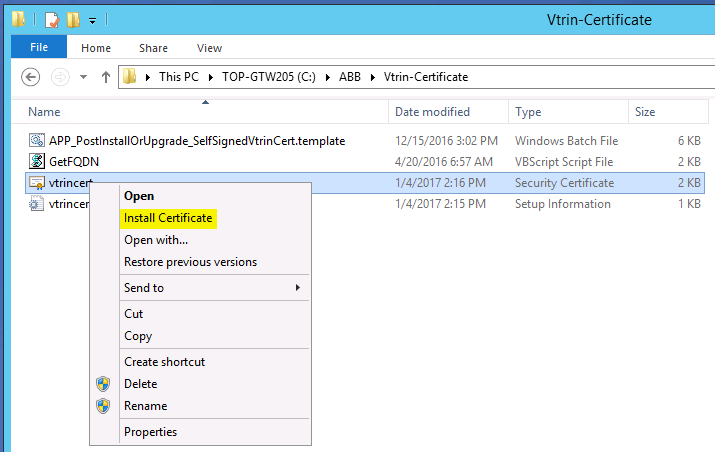
- Bring the exported certificate to the server. Right-click the file and select Install Certificate.
-
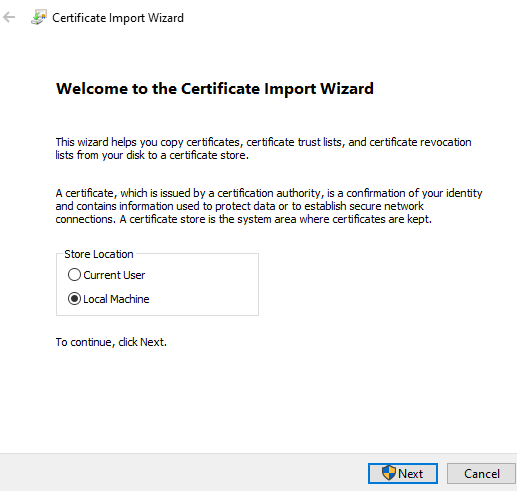
In the Certificate Import Wizard, select Local Machine and click Next, after which the certificate will be available to all users of the computer.
-
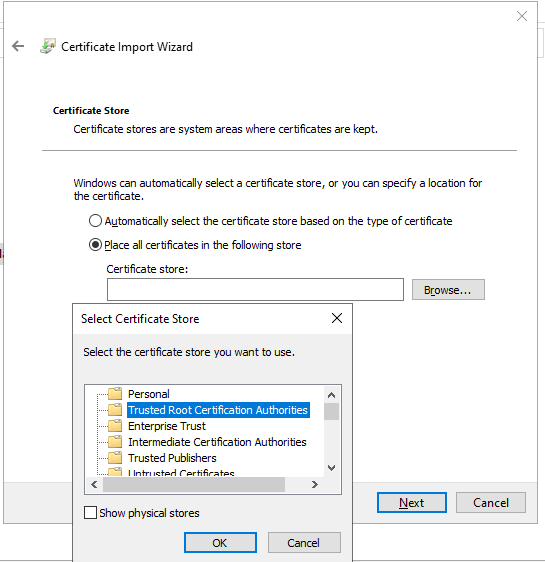
In the next screen select the option Place all certificates in the following store → Browse → Trusted Root Certification Authorities and click OK and Next
-
Then click on Finish, You will get a confirmation message like The import was successfull after a brief period of time.
Changes to configuration
All changes can be made through Engineering UI or View. The tree view holds all of the needed configuration List views. Equipment configuration is under Maintenance - System - Equipment Model Configuration. Database node under Maintenance - Basic. All list views can be found with the Tree Search.

Create Database node
In Engineering UI, open Database Nodes class list view. Add an entry for your target server. The important thing is the "Data Source Name" -field, which contains the address how to access the server. The "Name" field has to match the one given in the credentials -step.

Create Equipment publication
In Engineering UI, open EquipmentPublication class list view. Create the following entry. This will publish all instances of process path under specified root instance to target defined as MyTarget in Database Nodes.

The process path root instance refers to instances in the process path which describes Equipment Model. In a fresh system with the added pump model, the Equipment Model looks like this:

Instances in source node
This same tree structure "Example Site" and its child downwards should appear in the target system after the Equipment publication row is created and committed with "Enabled" set to true.
In target node, the published instance will first appear under "[New Equipment]" path instance. The instances under this "[New Equipment]" tree means the newly created instance is pending approval and no data will be passed to target by Netsync unless approved.
To approve the instance in target node, the user with enough privilege needs to change the parent to any instance of your choice other than "[New equipment]" or set to "(None)" and commit, this is considered as approval and the values from source machine to target will start updating.
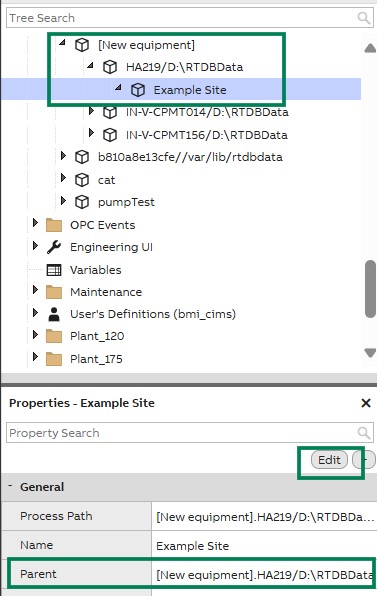
Published instance in target node
Troubleshooting
By default, Vtrin-NetSync produces Info-level tracing to its log file (files Vtrin-NetSync_????-??-??.log in the Diag folder of the database). Trace level can be changed for each connection separately. To change the trace level, edit the Vtrin-NetSync.exe.config file in the executable directory, and add the following section under the existing "configuration" section:
<configuration>
  ...
  <system.diagnostics>
    <switches>
      <add name="NetSync 'Local' --> 'FI-DB-MAIN-R1'" value="Verbose" />
    </switches>
  </system.diagnostics>
</configuration>
In this example, the connection target name was FI-DB-MAIN-R1. You can see the correct trace switch name to be used by looking the existing log file for entry such as "NetSync 'Local' --> 'FI-DB-MAIN-R1' [Info]: Constructing new equipment connection"
The possible trace levels are: Off, Error, Warning, Info, Verbose.
(Version info: Before 5.3_23.11, the trace switch name was not connection specific but only "NetSync")
Updated 8 months ago