Create a Simple Calculation for a "Value" Widget
This tutorial provides an easy example of how to create a calculated value for a Value widget.
Step 1: Add Values to the Dashboard
Open the widget library and add needed amount of "Value" widgets. In our example, we need two values for the calculation, so we will first add these. Let us call them value1 and value2.
Step 2: Add "Value" Widget for the Calculation
- Next, we need to add one more "Value" widget to display the calculated result. Let us call this value3.
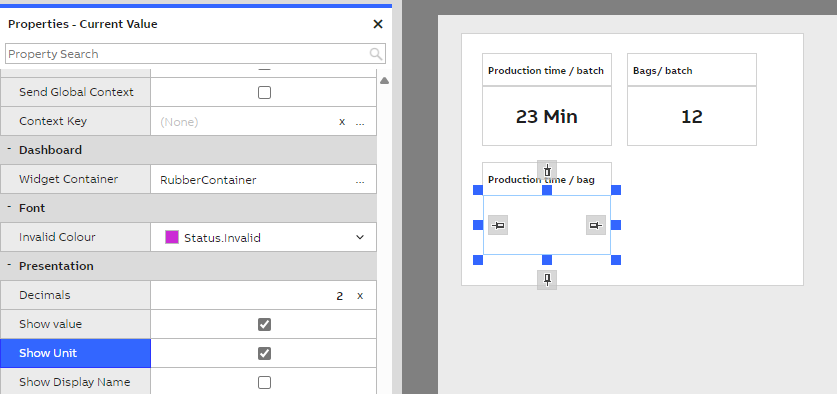
In the properties window, you can predefine settings for presentation, such as showing the unit and setting decimals, so that the calculated value looks more polished. These settings can be adjusted later.
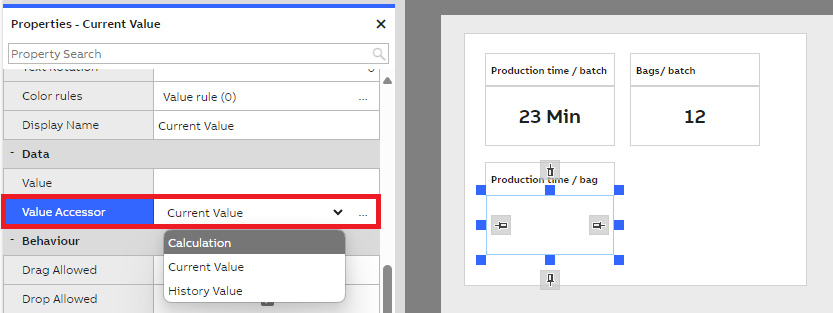
- In the properties window for the Value3 widget, select the Calculation option for the Value Accessor.
Step 3: Configure the Calculation
After selecting Calculation as the Value Accessor, you need to specify the calculation formula.
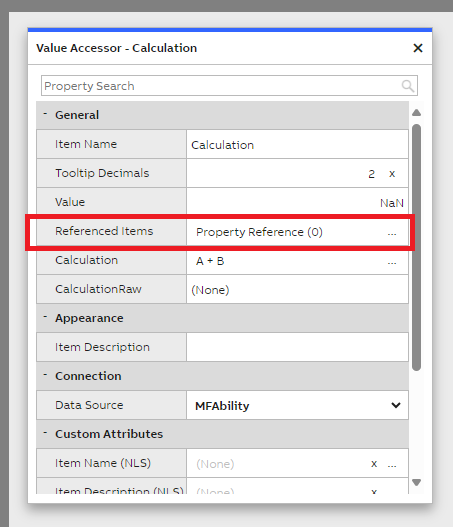
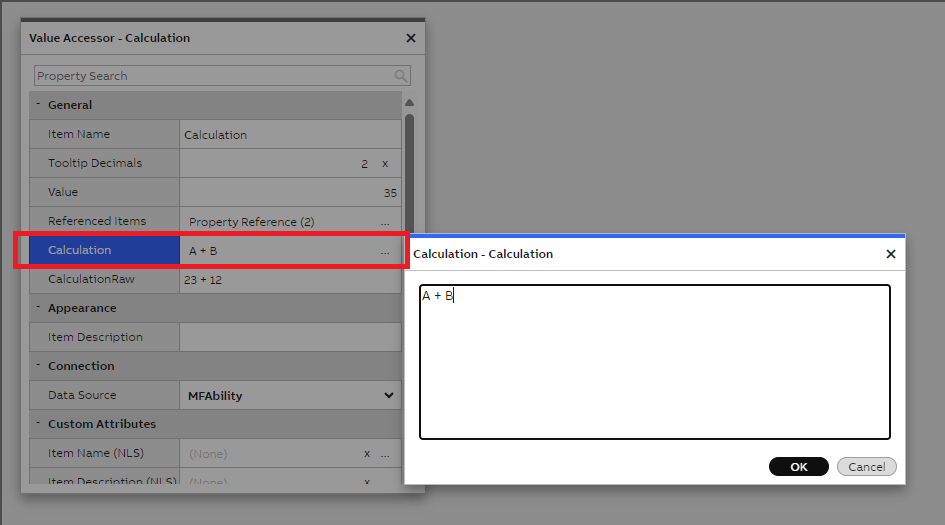
Click the three dots next to the Calculation row, and it will open a popup window where you can specify the calculation properties and equation.

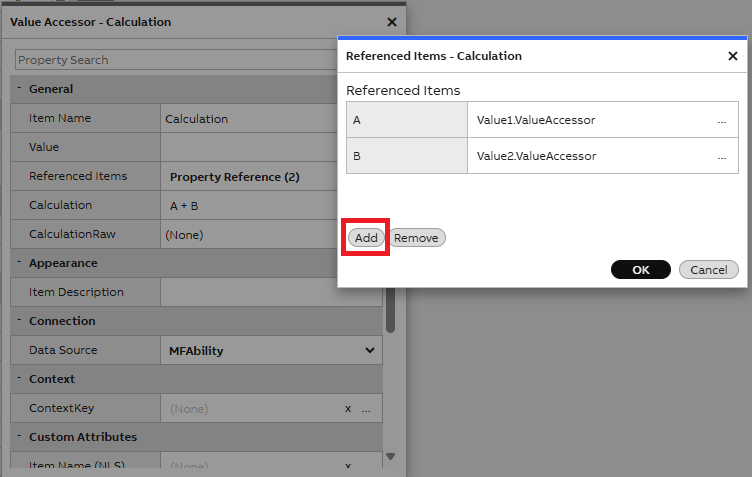
- Add the values that will be used in the calculation to the Referenced Items as pictures show below. Click the three dots next to the Referenced Items row to open popup.
- Add values by pressing "Add" and selecting the values you added earlier, value1 and value2. A and B represents the chosen values.
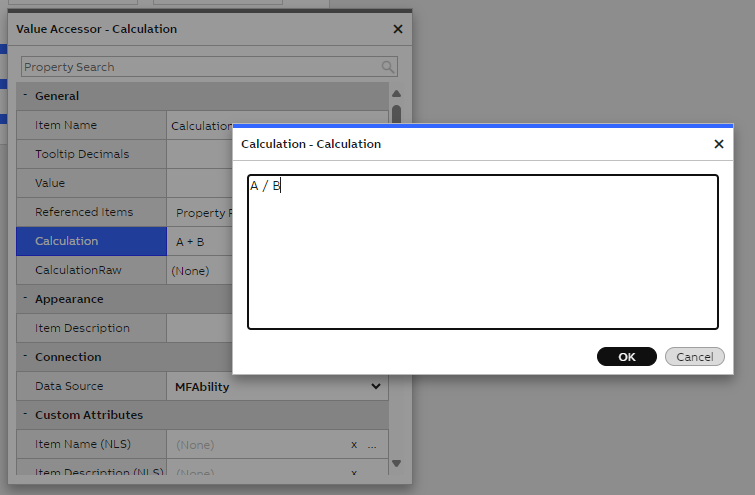
- Define the calculation by clicking three dots next to the Calculation row. This will open the calculation popup window. ( A + B is shown as the default formula. )
- You can define the calculation using the referenced items and pressing OK.
- After configuring everything, close the popup.
Final Step: Save the Dashboard and exit Edit mode
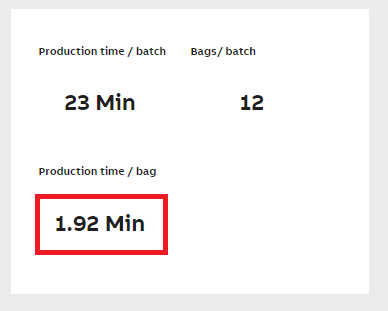
Once all configurations are complete, save the dashboard and exit edit mode. You should now see the calculated value displayed in the widget.
Updated 6 months ago