Dashboard custom edit dialog tutorial
Introduction
Instead of using the standard property editor for editing and creating class instances, you can create a dashboard to function as a custom edit dialog. Next we will go through the steps needed to achieve that.
Creating the dashboard
Step 1: Add Class Instance
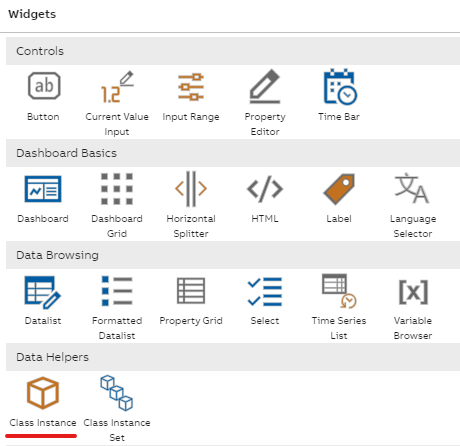
Create a dashboard and add a Class Instance widget to it.
Rename the widget as ‘Instance’, and as the Source, select the class you want to edit with the dashboard. In this example we use the Message Log class. For the next part you should also check the ‘Fetch Any’ selection. Later you can uncheck the box, if you want.
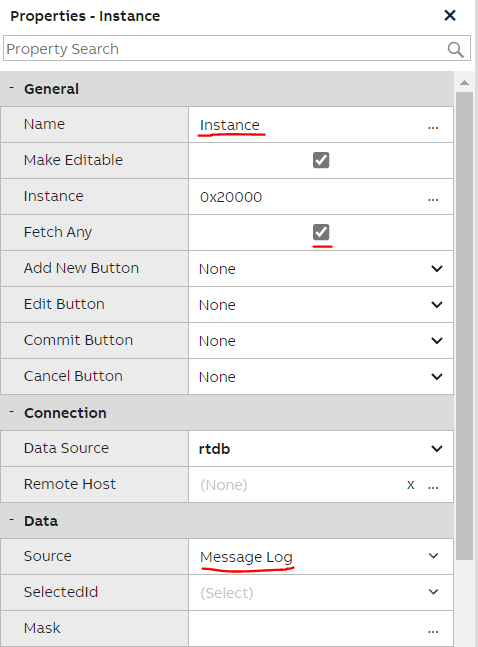
Database Instance widget configuration. In this example Message Log is used as the source.
Step 2: Add Single Property editor and labels
Add a Single Property Editor to the dashboard and change the ‘Property Reference’ value to the class property you want to associate the editor with. Please note: If you don't have any instances created on the class yet, the properties are not visible as shown below on the picture. In this case, first add instance(s) and then finalise choosing the properties for dialog.
Repeat the same steps for all the class properties you want to include in the editor dashboard. Unlike in the example image below, it might be good idea to give meaningful names to all the Single Property Editors you add to the dashboard.
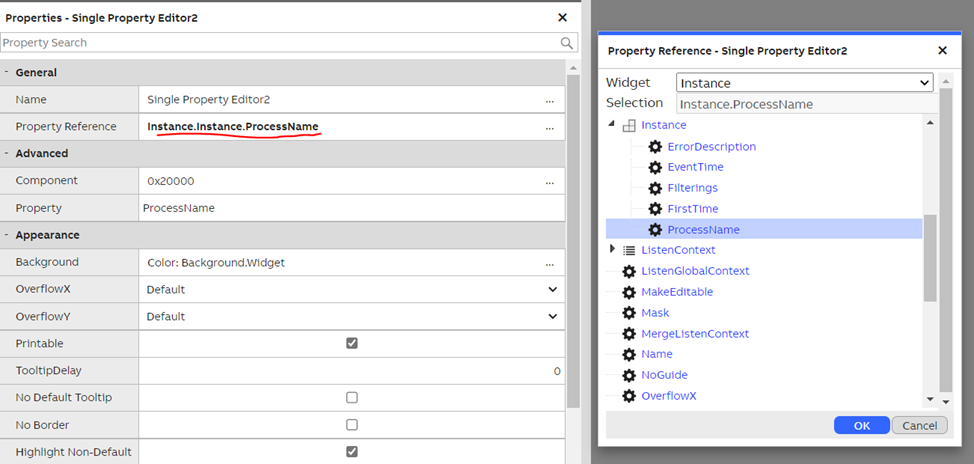
Single Property Editor property reference configuration. In this example the editor is associated with Message Log class property called ProcessName.
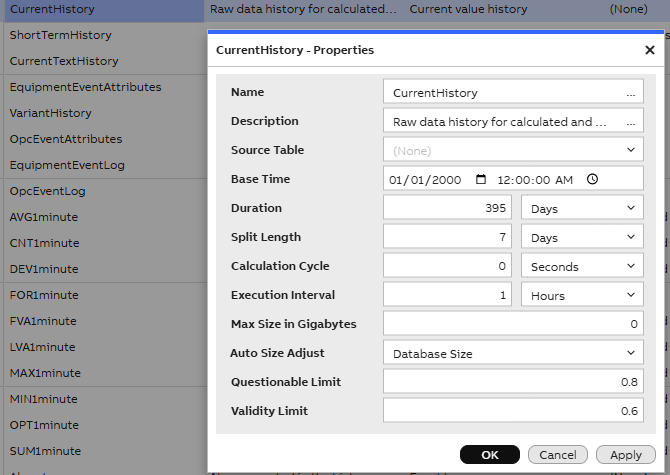
If you wish to add descriptions of the single property editors, you can add label widgets as well. Please see an example below that shows a custom edit dialog for our history definitions table. The dialog has labels and single property editor widgets.
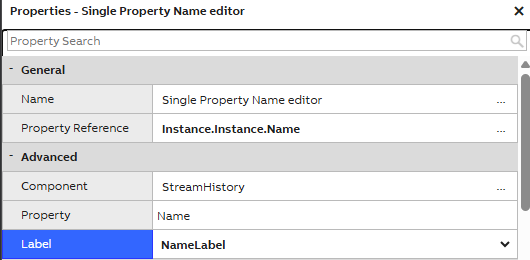
Label showing property name
If you want the labels to show the property name (recommended especially with multiple language use cases), you can add each label to single property editor widget.
This is done on single property editor advanced settings: Search Label > open the dropdown menu and select the label you wish. Repeat for each single property editor. This way the label shows correct property name in all the translated languages.
Configuring UI References
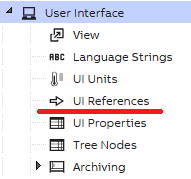
The next step is required to associate your custom editor dashboard with the data class you want to edit. From the main menu of Engineering UI open User Interface -> ‘UI References’. You can also use a Datalist widget with ‘Ui reference’ as the source.
Add an entry to the list with the following values:
- Text: $Properties (remember to include prefix $ in the beginning)
- Source type: The name of the class you want to configure the dashboard for. This should match the source class you selected for your Database Instance widget earlier. Class inheritance is also supported. More on that in the Advanced configuration section.
- Target type: TreeNode
- Target ID: Node id for the dashboard you want to use as the editor (in our example this is our dialog ID as we send the information from the dashboard to the dialog).

ID or Node id for the editor dashboard can be found from the properties of the dashboard, when you click the + button (Show all properties) at the top of the property grid (which then changes to -).
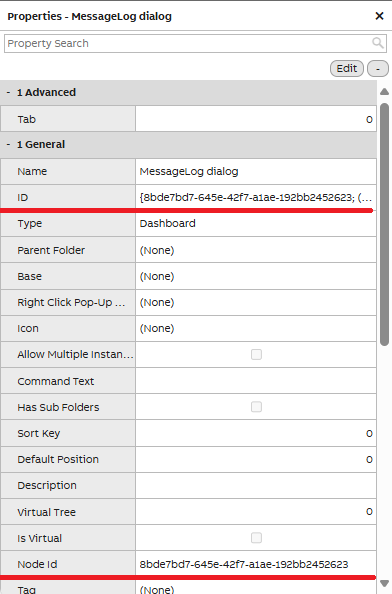
Find the Node Id of the dashboard you want to use as an editor
Advanced configuration
Source ID field can be used to configure an editor dashboard only for a specific class instance. That is achieved by setting the id value of the instance to the Source ID field.
Additional mask field can be used to create custom targeting rules for editor dashboards. Typical comparison and equality operators can be used along with the property names of the class in question. The mask value could be something like: Name = “xxx” or Value < 100.
Source type can be used to match the exact class you want to edit, but a parent class can also be used for matching multiple inherited classes. For example, a source type “Animal” might be used for classes “Cat” and “Dog”, if “Animal” is the base class and “Cat” and “Dog” are derived from it. Alternatively, separate editors can be configured for each sub-type. Closest match in the class hierarchy will be matched primarily, i.e., if an editor has been configured for a more specialized class like “Cat”, then that will be used instead of “Animal”.
Opening the edit dialog from Datalist
After the previous configurations are done, you should be able to open a class instance for editing by double clicking it in Datalist. If no custom dashboard is configured, a default property grid is instead opened in a dialog window, and you can use that for editing. Another option is to open the context menu of an item in Data list and selecting ‘Properties’. If you select the option ‘New’ from the context menu, you can create a new instance with the configured editor dashboard (or property grid, if a custom dashboard is not configured).
Updated 5 months ago